
Sunday, January 15, 2012
HWS Part 10
Just a quick update today. Been laminating the D fin for the board. This picture shows the fin with 2 X 4oz ea. side and 3 X 6oz ea. side. Going to let it cure for a couple of days, sand it level again and then I will start the graduated build of of additional layers which will help the foil shape of the fin.


Sunday, January 8, 2012
HWS Update Part 9
Time to glass the fin:


So here is how I start; I put my template on a piece of plate glass and trace the outline with a dry erase marker

Here is the outline

This also gives me an easy way to cut my fiberglass cloth to size

Now I go approx 1/4" outside the line and lay down my resin dam, I'm using foam rubber weather stripping

Important to then erase the black line or it will smear into the resin

2 layers of 4oz cloth that I cut out earlier. This is a real important step because this cloth will bind the pieces together for the rest of the build-up of the fin

The cloth is thoroughly saturated and the backside of the wood is basted with resin before setting them firmly onto the wet cloth.

Then the plate goes under the UV booth, notice the mirrors I want as much UV light hitting the plate as possible, I even put a mirror under the stand so the light can reflect up through the glass

After just a few minutes the tinted resin goes in, filled up to the edge and a bit more so it "domes". The foam rubber will soak some up so you have to let it sit for a few minutes and keep adding a little resin at a time. You want to keep that domed effect because once it starts to cure it will shrink. Note: this resin has some milled fiberglass mixed into it for strength. You can use cut up fibers from scrap glass or fin roving to accomplish this. Not too worried about it being really strong at this point just want it to hold together for the rest of the process. This of course now goes in the UV booth for what feels like forever! Good thing about UV it will cure thick resin without getting too hot and cracking.

Wow it didn't fall apart! So anyway after it has cured under the UV I really leave it alone for several hours. Then just start wedging some razor blades under the edge and it will gently pop right off the plate glass. Now I'll leave it to fully cure for several days before I start to laminate layers of 4 oz cloth to make it structurally strong.
Saturday, January 7, 2012
HWS Update Part 8
Building the fin tonight: Here is the mock-up and my template

Here is the plan:

This is how I got the wood together: I cut 1" sticks of Black Walnut and Curly Maple on the table saw

Then I glued them up

Then I cut them up to create a checked panel:

The rest is pretty straighforward I made little templates and cut out the other pieces:

Next comes glassing...stay tuned!!
Saturday, December 31, 2011
HWS Build Part 7
 |
| I'm really getting sick of all these clamps and glue! |
 |
| CLAMPS & GLUE! |
 |
| Nose blocks before shaping |
 |
| Rough shaped tail block |
 |
| Rough shaped nose blocks |
 |
| Full length |
Wednesday, December 28, 2011


Tuesday, December 20, 2011
HWS Build Part 5
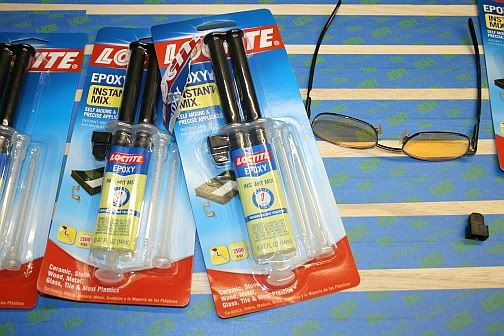
Ok so massive gluing failure on the top skin has been solved! Reclamped everything and used epoxy glue instead of wood glue. This stuff set up right away and held like it had been welded!


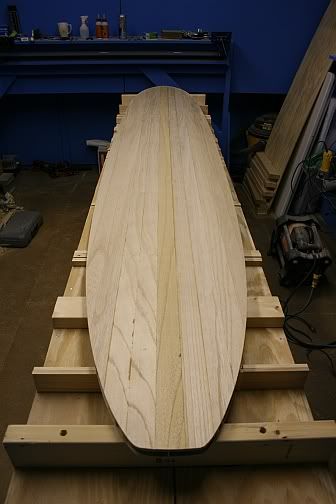
Skip ahead now...So as not to get too boring....Used one of my existing 9'6" longboard templates to layout the outline one the bottom skin. Used a sabre saw (jig saw) to cut out the outline to within 1/4" of the line. Then I put the board on my normal shaping stands and used my 3" belt sander held at 90 degrees to "true up" the outline. This is what it looks like now:
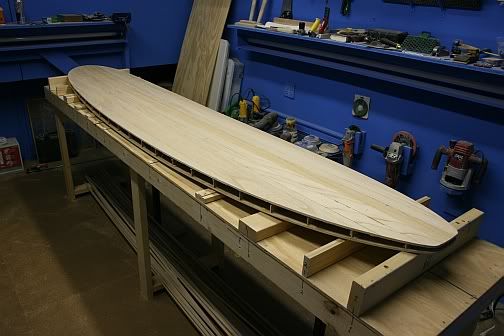
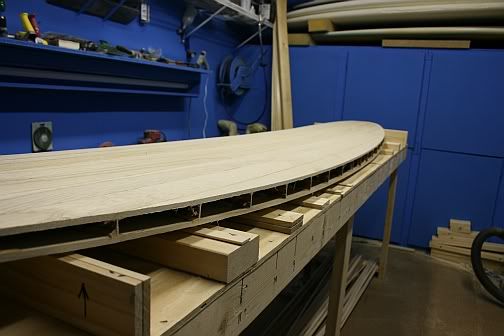
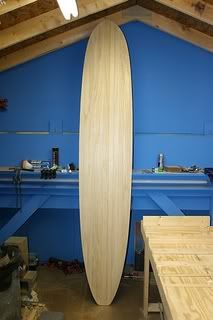
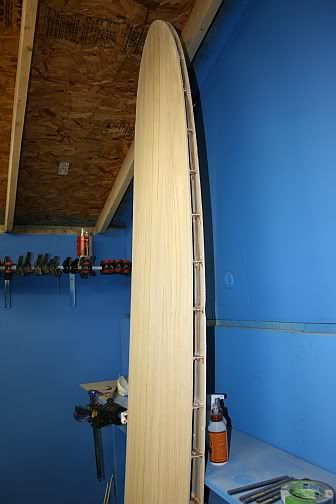
Next step is to get some material built up on the rails. I have selected more paulownia and some cherry for this. Coming soon!
Sunday, December 18, 2011
HWS Build Part 4
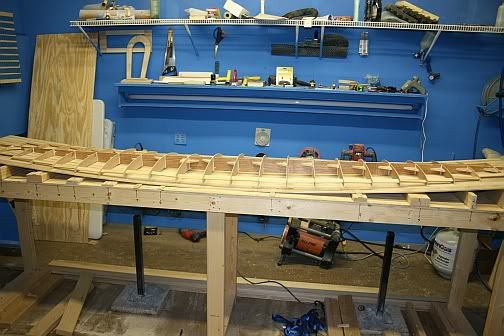
Ok so here is the frame ready to be glued to the bottom skin:
Note the little triangular pieces that I added along the stringer for added strength and to help keep it straight. I also added pieces of wood between each rib to keep them aligned during gluing. You may also note that this is a different frame (fishbones) than what I started with. I was very unhappy with the weight of the first frame so I took a couple of days away from the project and ordered a CNC cut frame from Greenlight Surf Supply. The manufacturer of the frame kit is Wooden Surfboard Supply.


Note the little triangular pieces that I added along the stringer for added strength and to help keep it straight. I also added pieces of wood between each rib to keep them aligned during gluing. You may also note that this is a different frame (fishbones) than what I started with. I was very unhappy with the weight of the first frame so I took a couple of days away from the project and ordered a CNC cut frame from Greenlight Surf Supply. The manufacturer of the frame kit is Wooden Surfboard Supply.
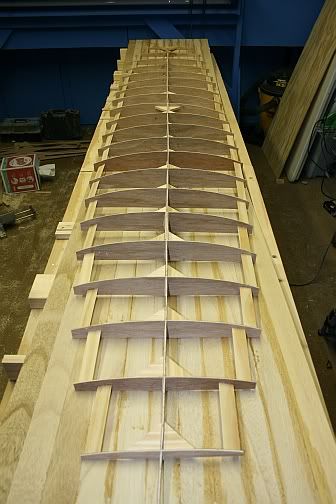
Glued, clamped, strapped, weighted....OMG! This thing was like a wooden slinky!!!!
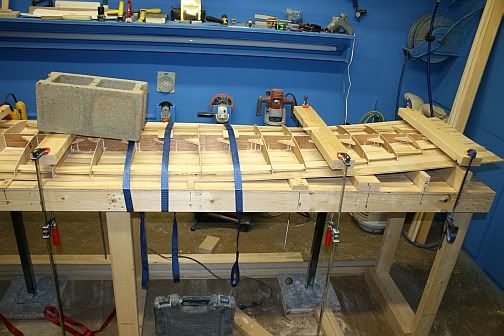
Unclamped!!!
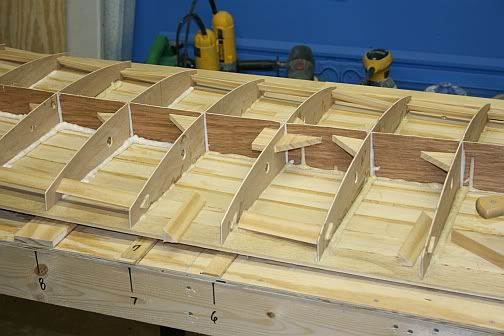
Cutting out the extra weight of the wood guides:
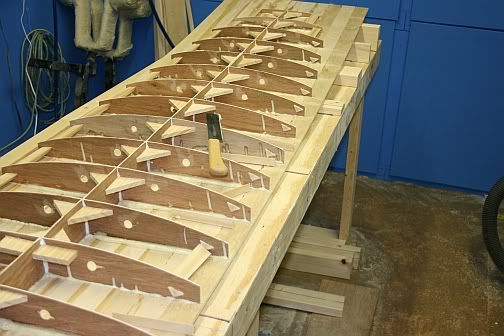
Reinforcing the fin area with Paulownia blocks for either a fin box or...not:
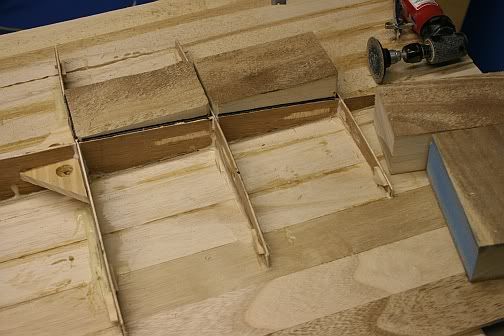
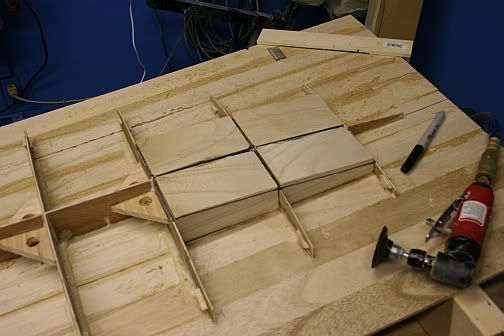
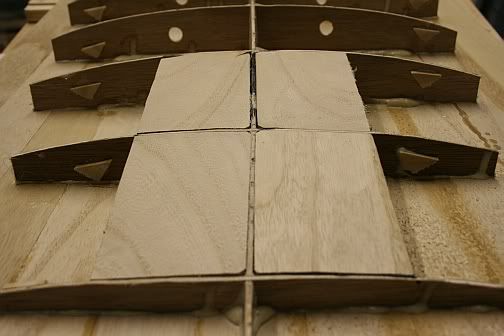
Top skin glued and clamped to the frame. I Basically just used the measurements of the frame and transferred a pencil line gride to the underside of the top skin. I layed out ropes of glue on the grid and then just flipped it over and onto the frame:
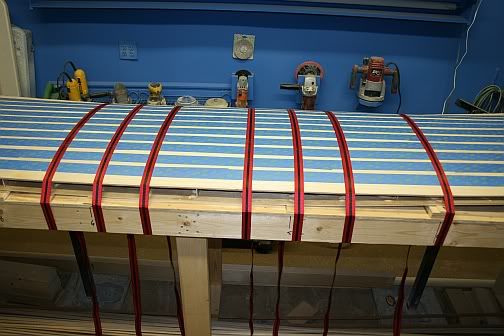
Well just when things were going so well. The next day when I released the straps...BANG! The domed top skin just Popped free...literally with a BANG!
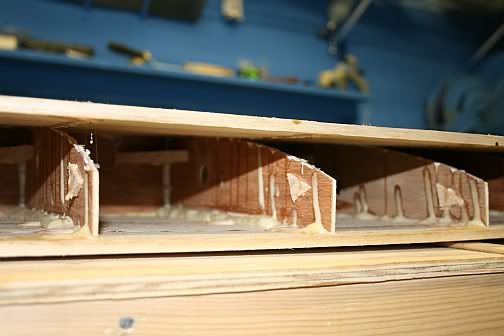
Just thought this was going too well!!!! ARRRRRRGGGGGGHHHHH!!!!
Walk away and figure it out, : (
Subscribe to:
Posts (Atom)