Saturday, December 31, 2011

HWS Build Part 7


I'm really getting sick of all these clamps and glue!

CLAMPS & GLUE!


Nose blocks before shaping

Rough shaped tail block

Rough shaped nose blocks


Full length


Tuesday, December 20, 2011

HWS Build Part 5

Ok so massive gluing failure on the top skin has been solved!  Reclamped everything and used epoxy glue instead of wood glue. This stuff set up right away and held like it had been welded!


Skip ahead now...So as not to get too boring....Used one of my existing 9'6" longboard templates to layout the outline one the bottom skin.  Used a sabre saw (jig saw) to cut out the outline to within 1/4" of the line. Then I put the board on my normal shaping stands and used my 3" belt sander held at 90 degrees to "true up" the outline.  This is what it looks like now:


Next step is to get some material built up on the rails. I have selected more paulownia and some cherry for this. Coming soon!


Sunday, December 18, 2011

HWS Build Part 4

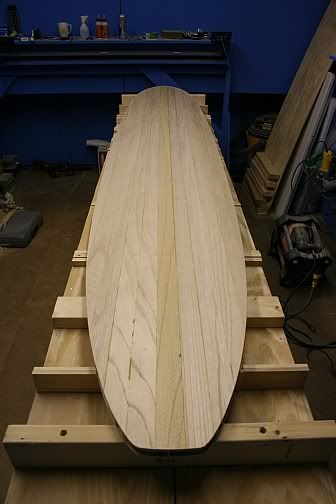
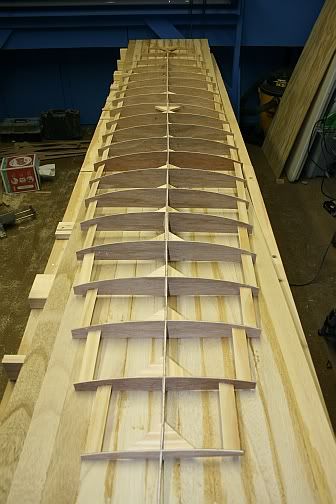
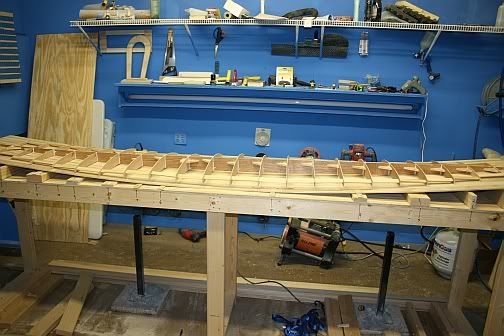
Ok so here is the frame ready to be glued to the bottom skin:

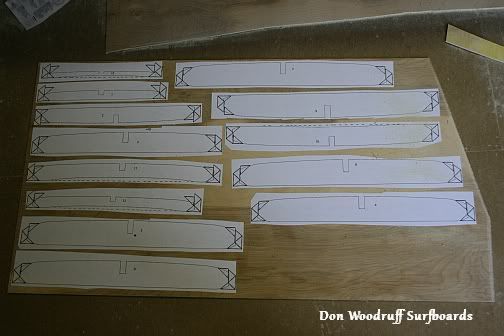
Note the little triangular pieces that I added along the stringer for added strength and to help keep it straight.  I also added pieces of wood between each rib to keep them aligned during gluing. You may also note that this is a different frame (fishbones) than what I started with. I was very unhappy with the weight of the first frame so I took a couple of days away from the project and ordered a CNC cut frame from Greenlight Surf Supply. The manufacturer of the frame kit is Wooden Surfboard Supply.


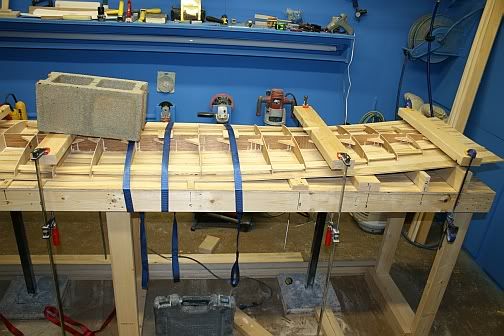
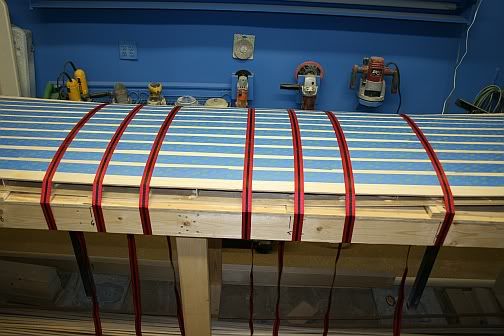
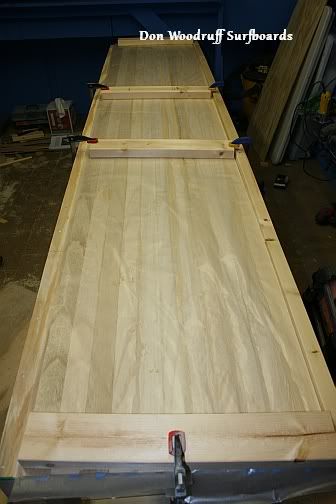
Glued, clamped, strapped, weighted....OMG! This thing was like a wooden slinky!!!!
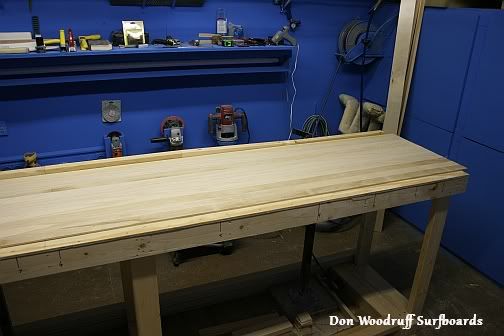

Unclamped!!!


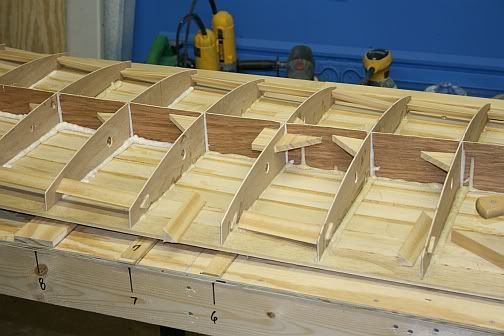
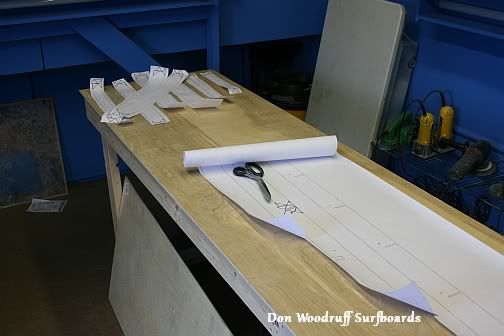
Cutting out the extra weight of the wood guides:


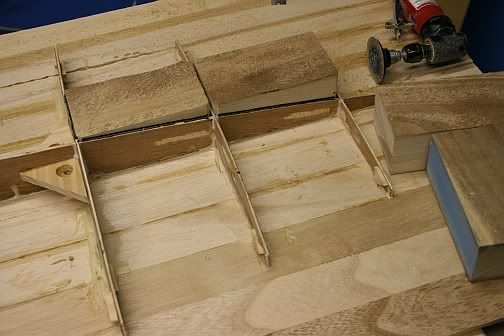
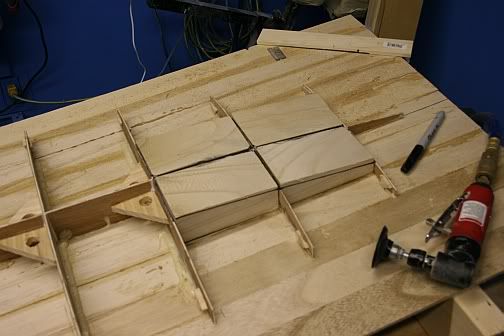
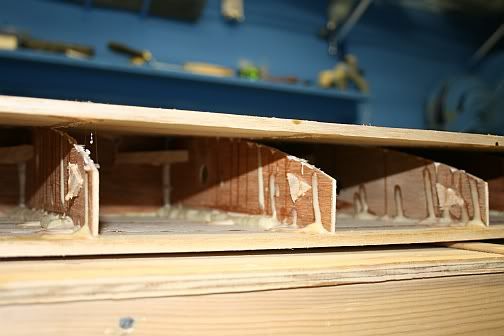
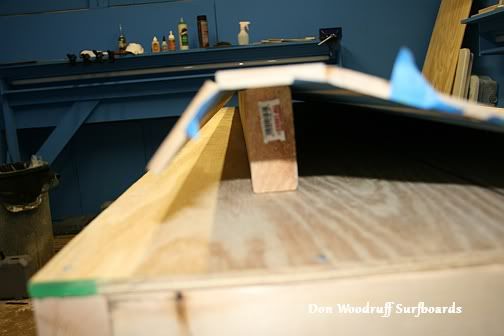
Reinforcing the fin area with Paulownia blocks for either a fin box or...not:


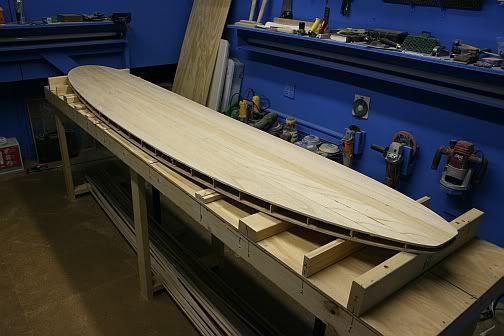
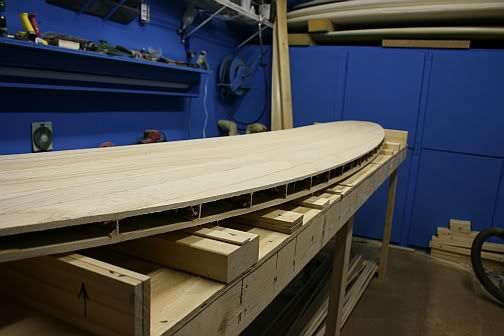
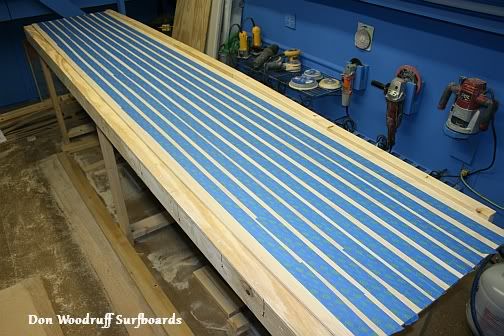
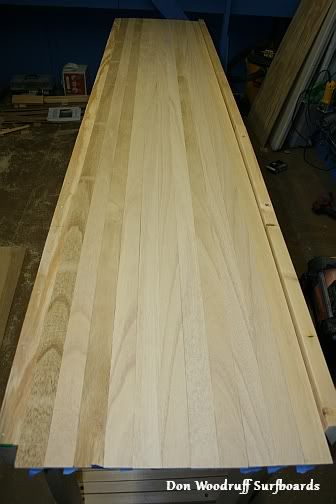
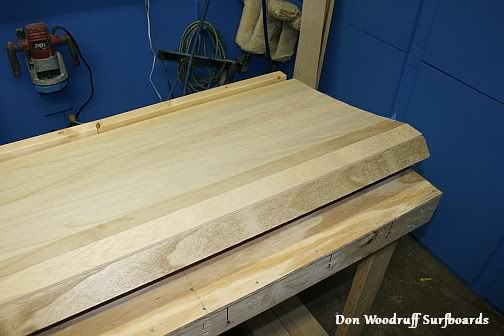
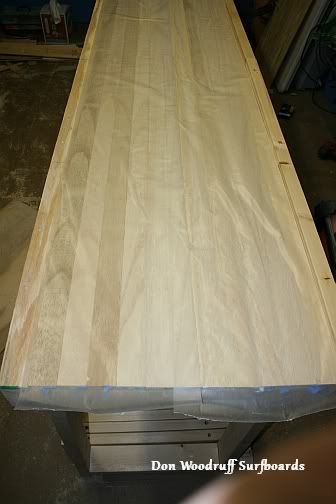
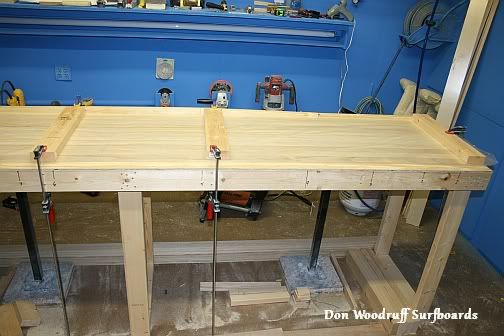
Top skin glued and clamped to the frame. I Basically just used the measurements of the frame and transferred a pencil line gride to the underside of the top skin. I layed out ropes of glue on the grid and then just flipped it over and onto the frame:


Well just when things were going so well. The next day when I released the straps...BANG! The domed top skin just Popped free...literally with a BANG!


Just thought this was going too well!!!!   ARRRRRRGGGGGGHHHHH!!!!

Walk away and figure it out, :  (


Saturday, December 17, 2011

HWS Build Part 3

Gluing up the "Skins"

The skins will be made from Paulownia. I got the Paulownia from The "Paulownia Barn" in Swansea South Carolina. Great people to work with!


Paulowinia is 1/4" X 2" X 10'


Layed out the wood and butted it tight together but did not clamp. I screwed a temporary fence on the far side of the table from 2X4's that will be used for multiple purposes during this build. I pushed the slats into the fence to get them tight. Just used masking tape to hold it tight for now:


Flip the panel over to prepare for wood glue:


To glue the panel together I used a method I've seen others use; I put a 2x4 on its side and draped the panel over the edge to open up the seam for glue. Run a bead of glue the length of the panel and repeat till whole panel is glued. Just wipe up the big puddles of glue that squeeze out. This side will not be seen in the final product.


Cover with wax paper to keep the glue from sticking to the 2x4s used to clamp it flat:


Hollow Wood Surfboard (HWS) Build Part 2

Cutting out the templates for the frame:

What I'll use to cut out the frame parts:
Gluing the spine together, clamped to the table underneath 2 X 4's:
Paper templates, used spray adhesive to stick them to the luan plywood:
Gluing the frame (fishbones) together with gorilla glue:


First Hollow Wood Surfboard Build

So I've been waiting to start on this project for nearly a year!

First things first:

 I had to build a rocker table to construct the board on.

10' X 24" X 36" high.